2017-11-19
Philips Hue and Tasker – Use your lights as a notification for Text Messages
Note: This blog is an archive. Some content may be out of date, and images may be broken or missing. If you find an issue or have a question, please email craig.j.midwinter@gmail.com.
A couple years ago, back when I first bought my Philips Hue lights, I posted this video of me using my lights as a notification for incoming text messages.
Since then, I’ve been asked a few times how to do this, so I thought I’d post a tutorial on how to do this with Android.
What you’ll need:
- Philips Hue lights
- An Android phone
- The Tasker app
- The autohue plugin
I’m going to assume you’ve already got your lights set up for normal operations.
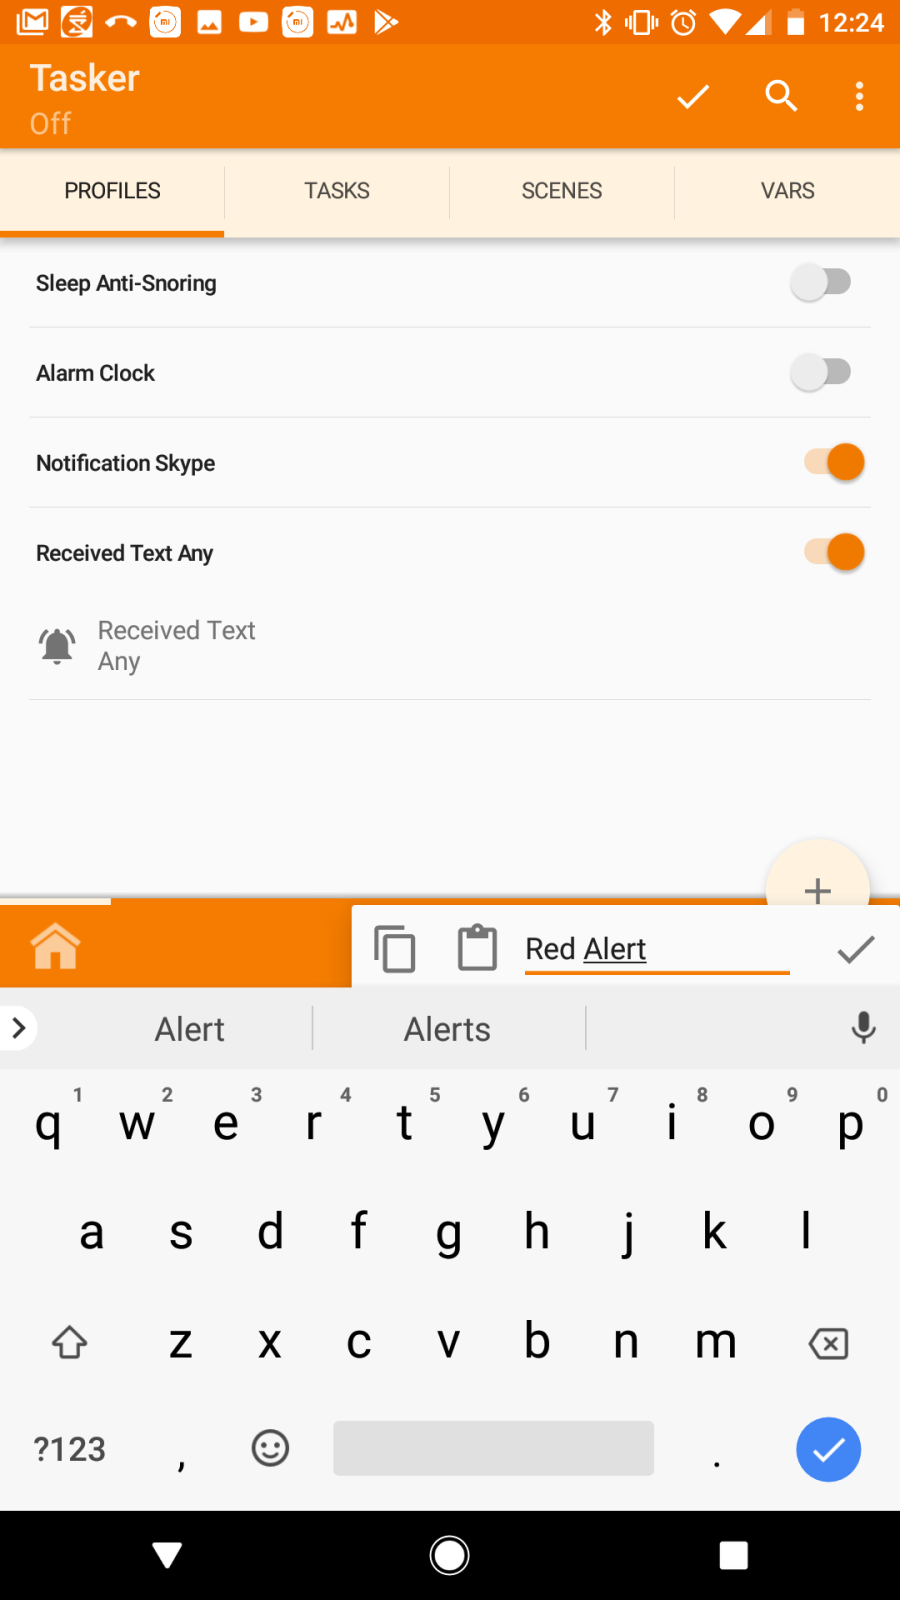
On your phone, open up the tasker app. At the bottom of the screen you should see a button with a plus sign in it. Hit this button to begin creating a profile trigger.


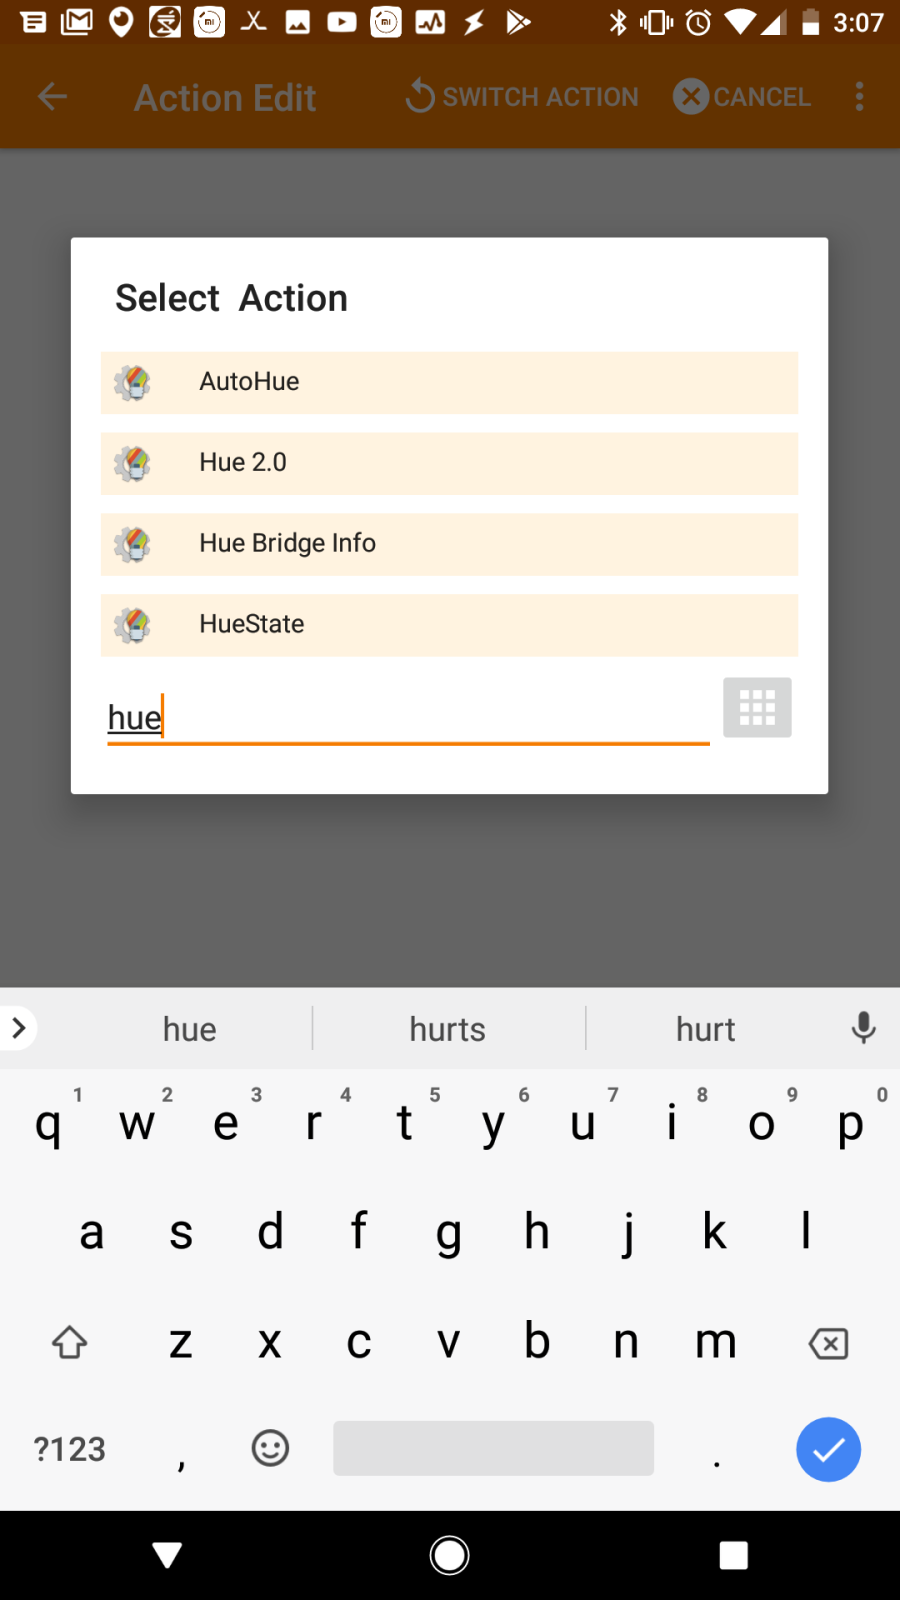
Now, you should see an empty task screen. Let’s add some actions to it. The first thing we’ll need is our light sequence. Hit the plus button in the lower left, and you’ll be presented with a bunch of action options.
Here, we’ll start our search for ‘hue’ until we see the option for ‘Hue 2.0’
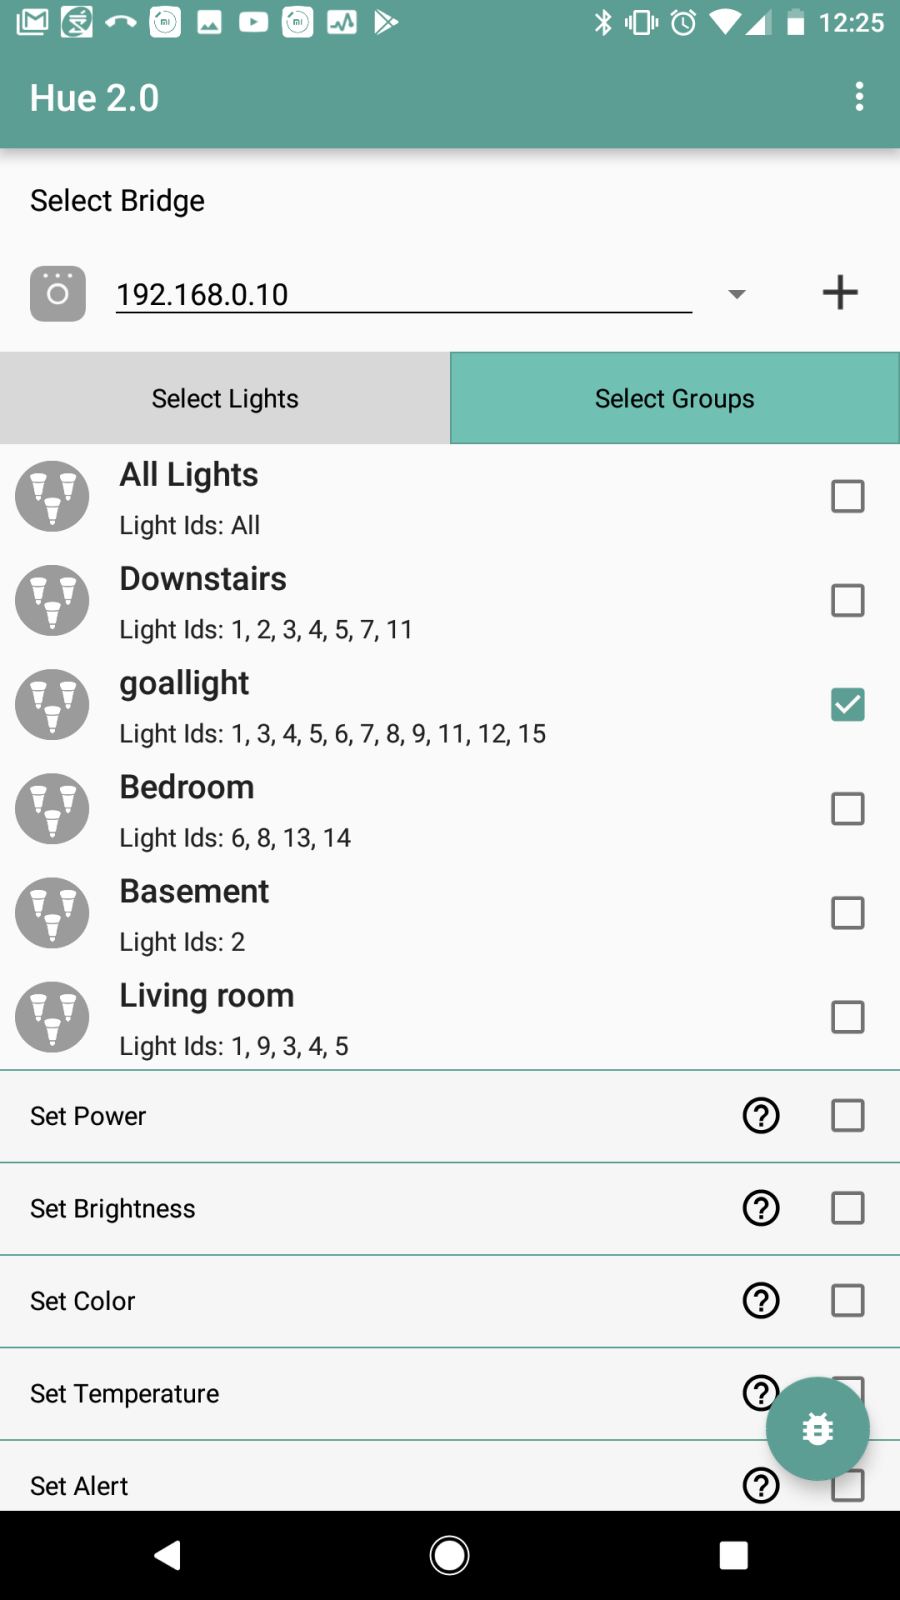
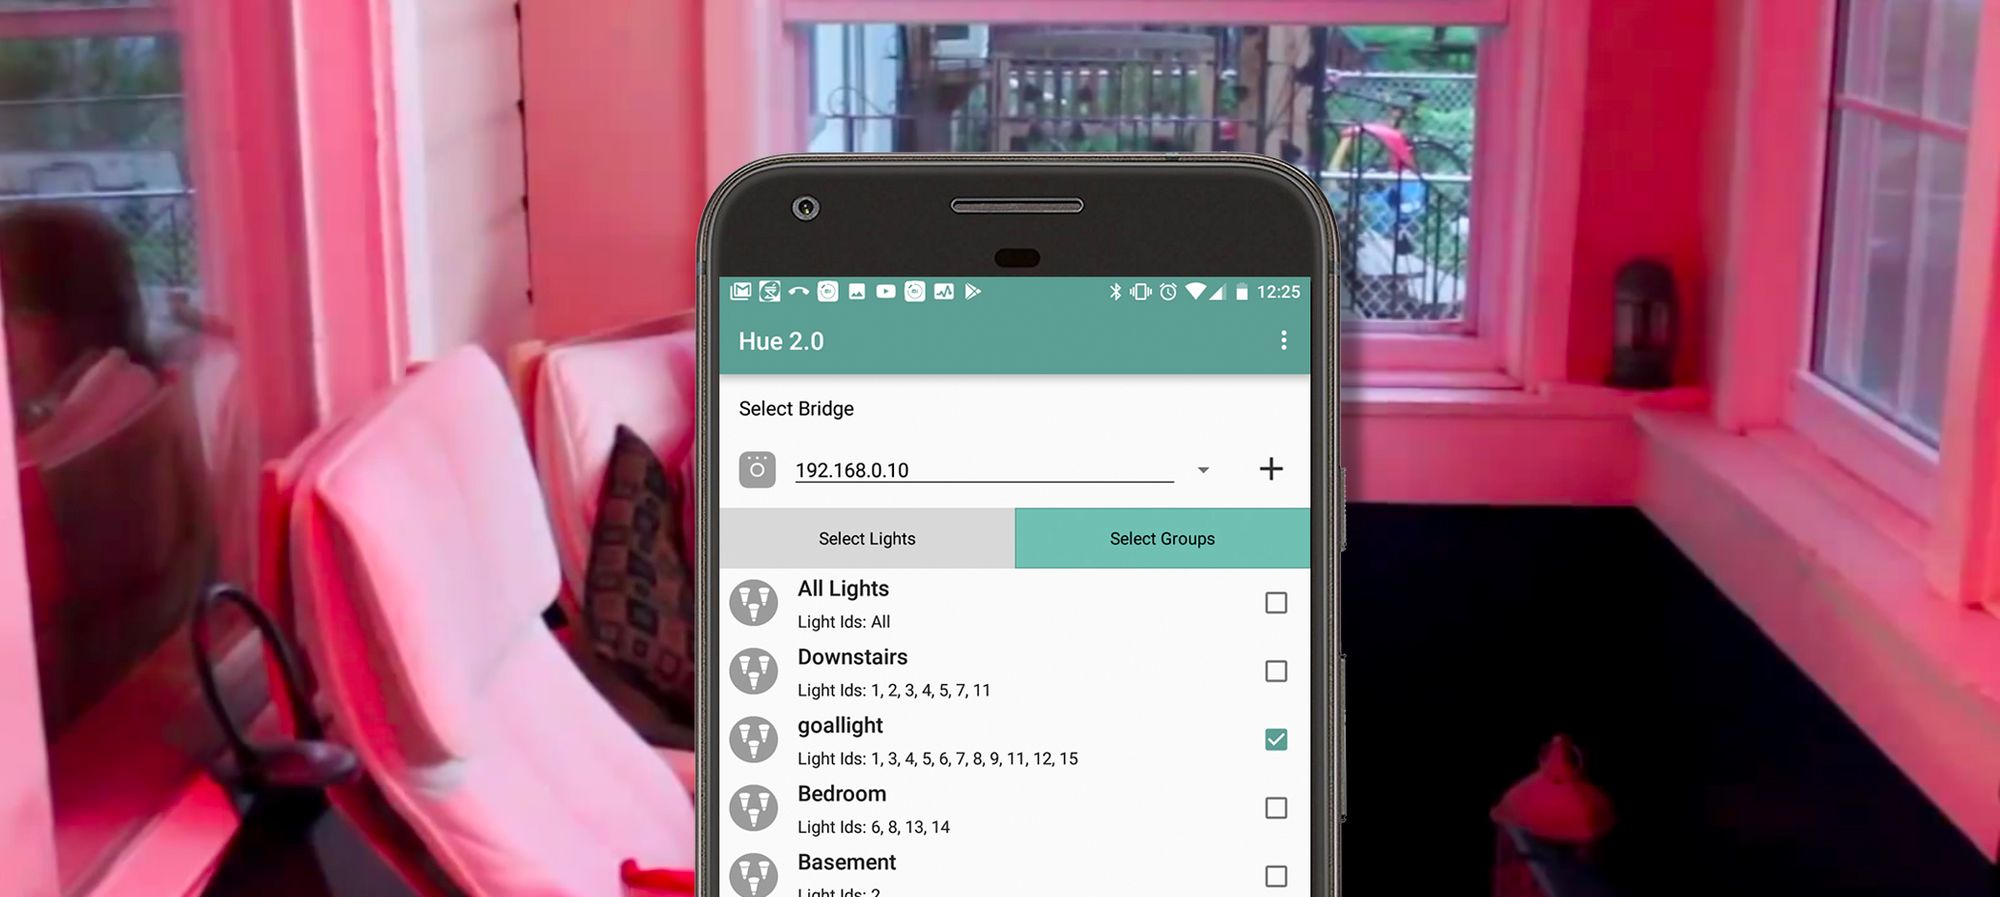
After your bridge is set up, you should see a list of your bulbs, here you can select which lights you’d like to use, you can also use the groups tab to select any groups you have set up. Select the group you want to use for this notification.
Now that you have your bulbs selected, choose the following settings
- Set Power [checked] - Power [checked]
- Set Colour [checked] - Select colour [whatever colour you’d like this notification to flash]
- Set Alert [checked] - Blink 15 seconds
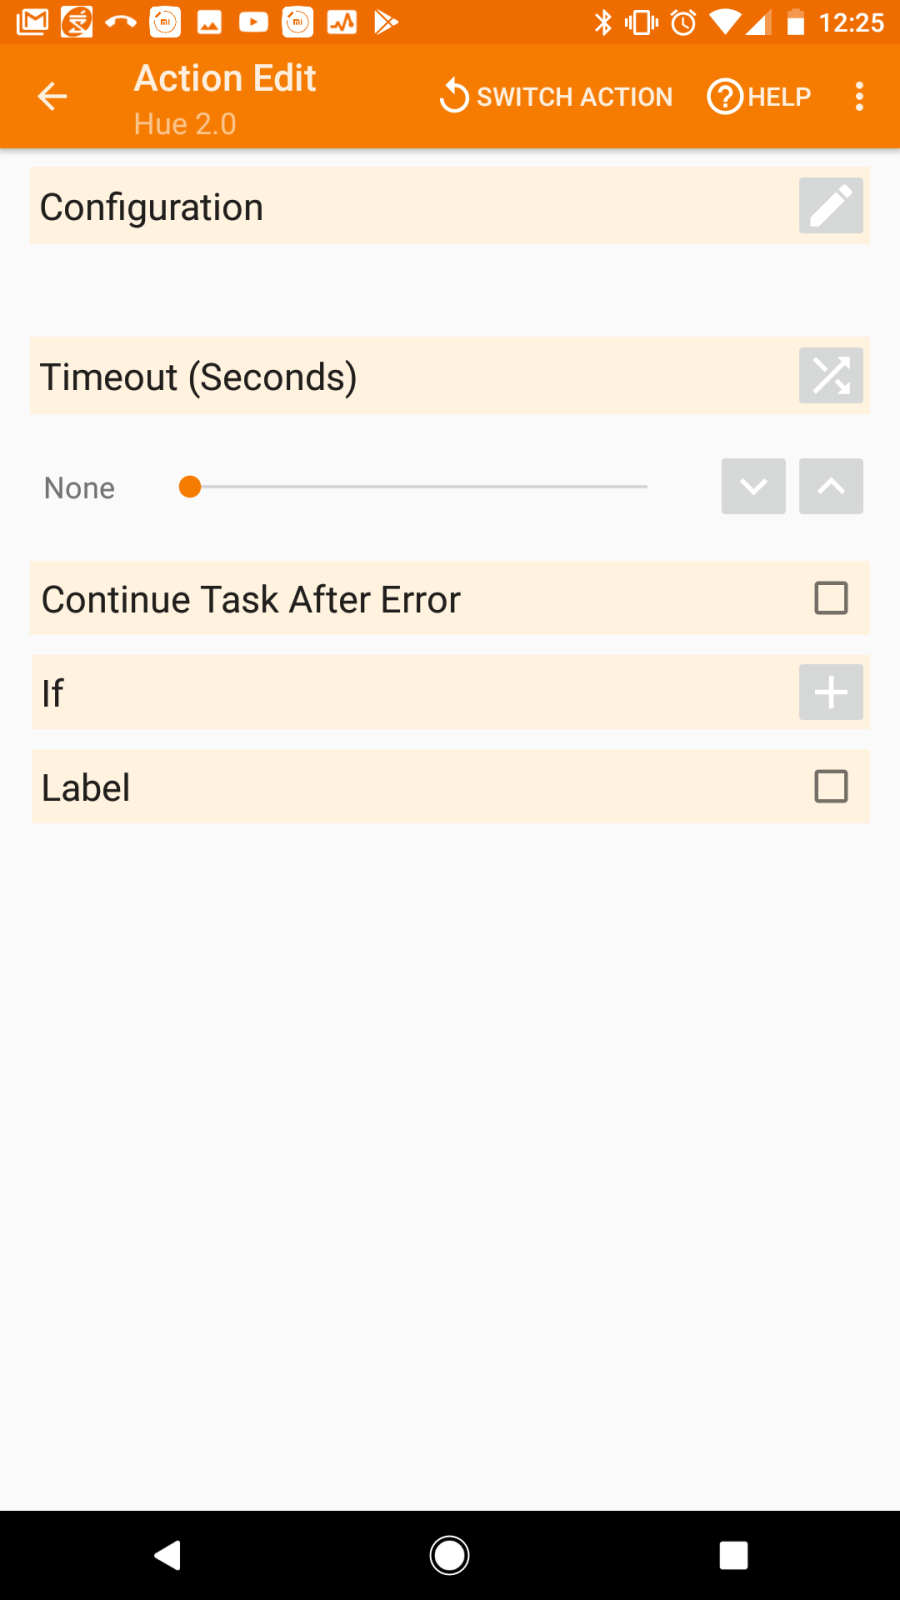
Now that you have all your settings selected, select the three dots in the top right corner and choose ‘Done’, and then at the Action Edit screen, click the back arrow.
Now, if you click the play button in the bottom left, it should run this action. If you run this now, you’ll see your lights blink for the alert.
One thing you’ll notice is that your lights will stay in whatever color you set for the alert. That’s because we haven’t told the lights what to change to after. We’ll need to add another Hue 2.0 task to change them back. Before we do that though-- Tasker will execute the tasks one after another immediately after the previous task was triggered unless we tell it otherwise, so the next task we need to add is a task that tells tasker to wait.
Hit the plus button on the bottom and search for the ‘Wait’ action.
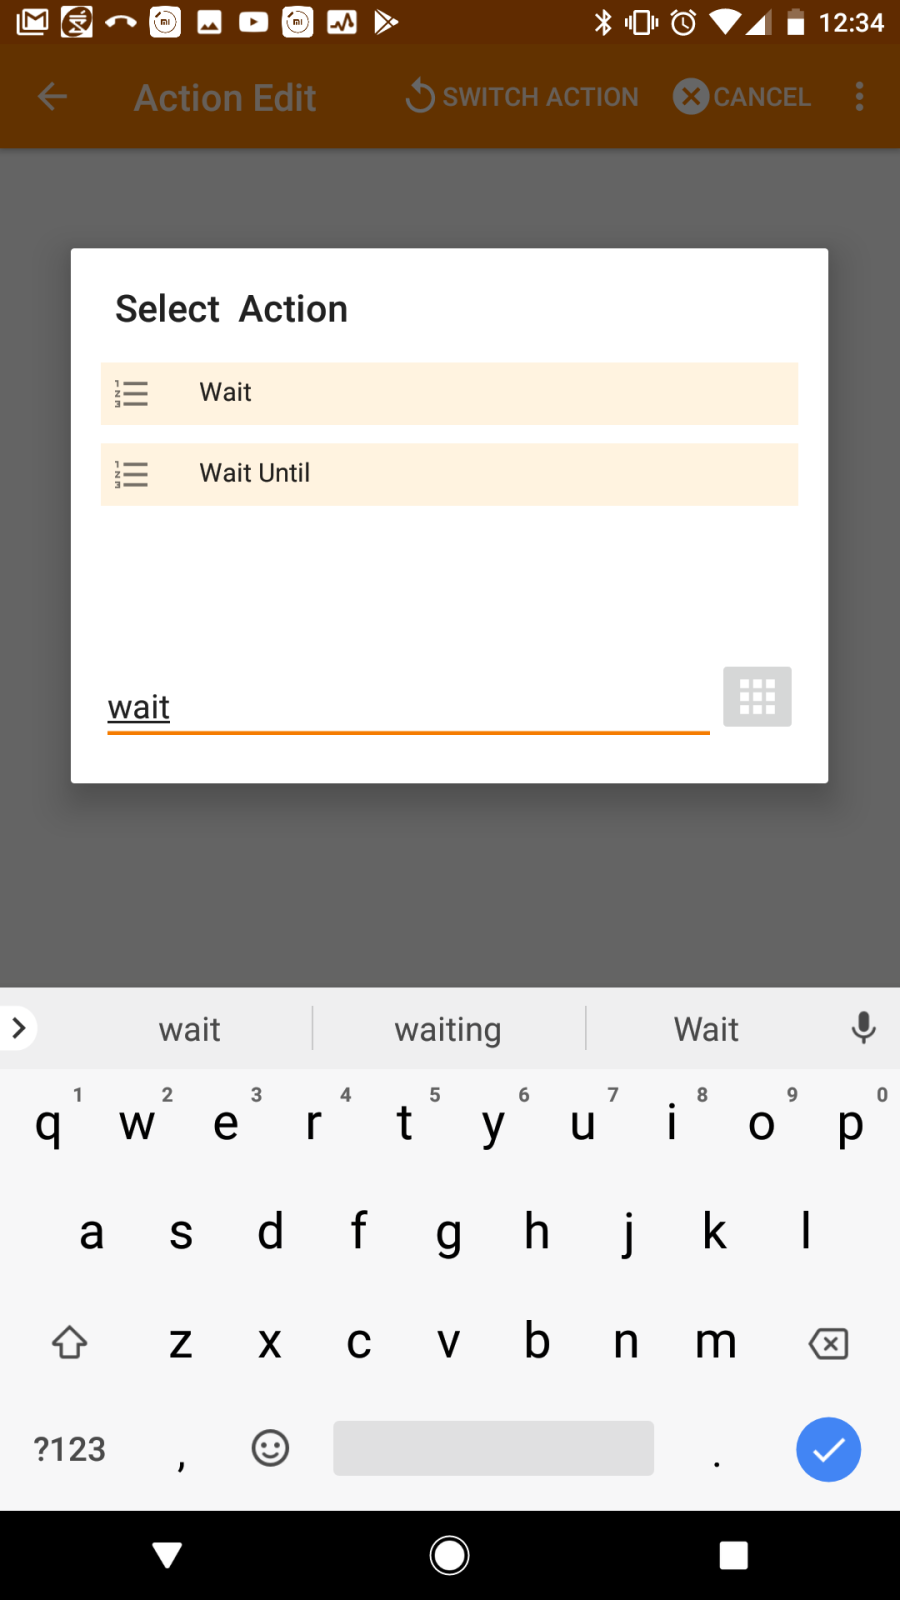
Back out of this screen until you are back at the Task Edit screen. Now it’s time to add the last Hue 2.0 task. Again hit the plus button to add the final action and search for Hue 2.0
Select the bridge and bulbs you selected initially and then set the following settings:
- Set Power [checked]Power [checked]
- Set Colour [checked]Select colour [whatever colour you’d like the bulbs to return to after the notification has completed]
- Set Alert [checked]None (stop)
Back out of this all the way to the main tasker screen, make sure the profile is enabled and that tasker is enabled and you should be good to go! For the auto in my video, I just set my ringtone like normal to a red alert sound I downloaded from here: (I used the red alert sound from Star Trek, downloaded from here)
Any questions, feel free to comment and I’ll do my best to help!